
Classic Spaghetti and Meatballs
Posted: December 31, 2013 Filed under: Uncategorized Leave a commentSometimes, you just want straight up classic comfort food. And when you feel like that, there really isn’t anything better than a steaming plate of pasta with savoury, smoky, cheesy meatballs piled on top, isn’t there?
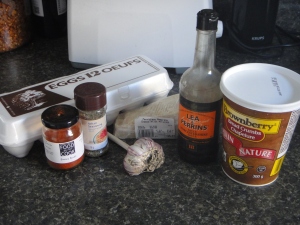 The classic ingredient shot.
 For this recipe, I used one egg, a bunch of breadcrumbs, Parmesan cheese, smoky paprika, Worcestershire sauce and classic Italian flavours, including rosemary, garlic, Italian seasoning.
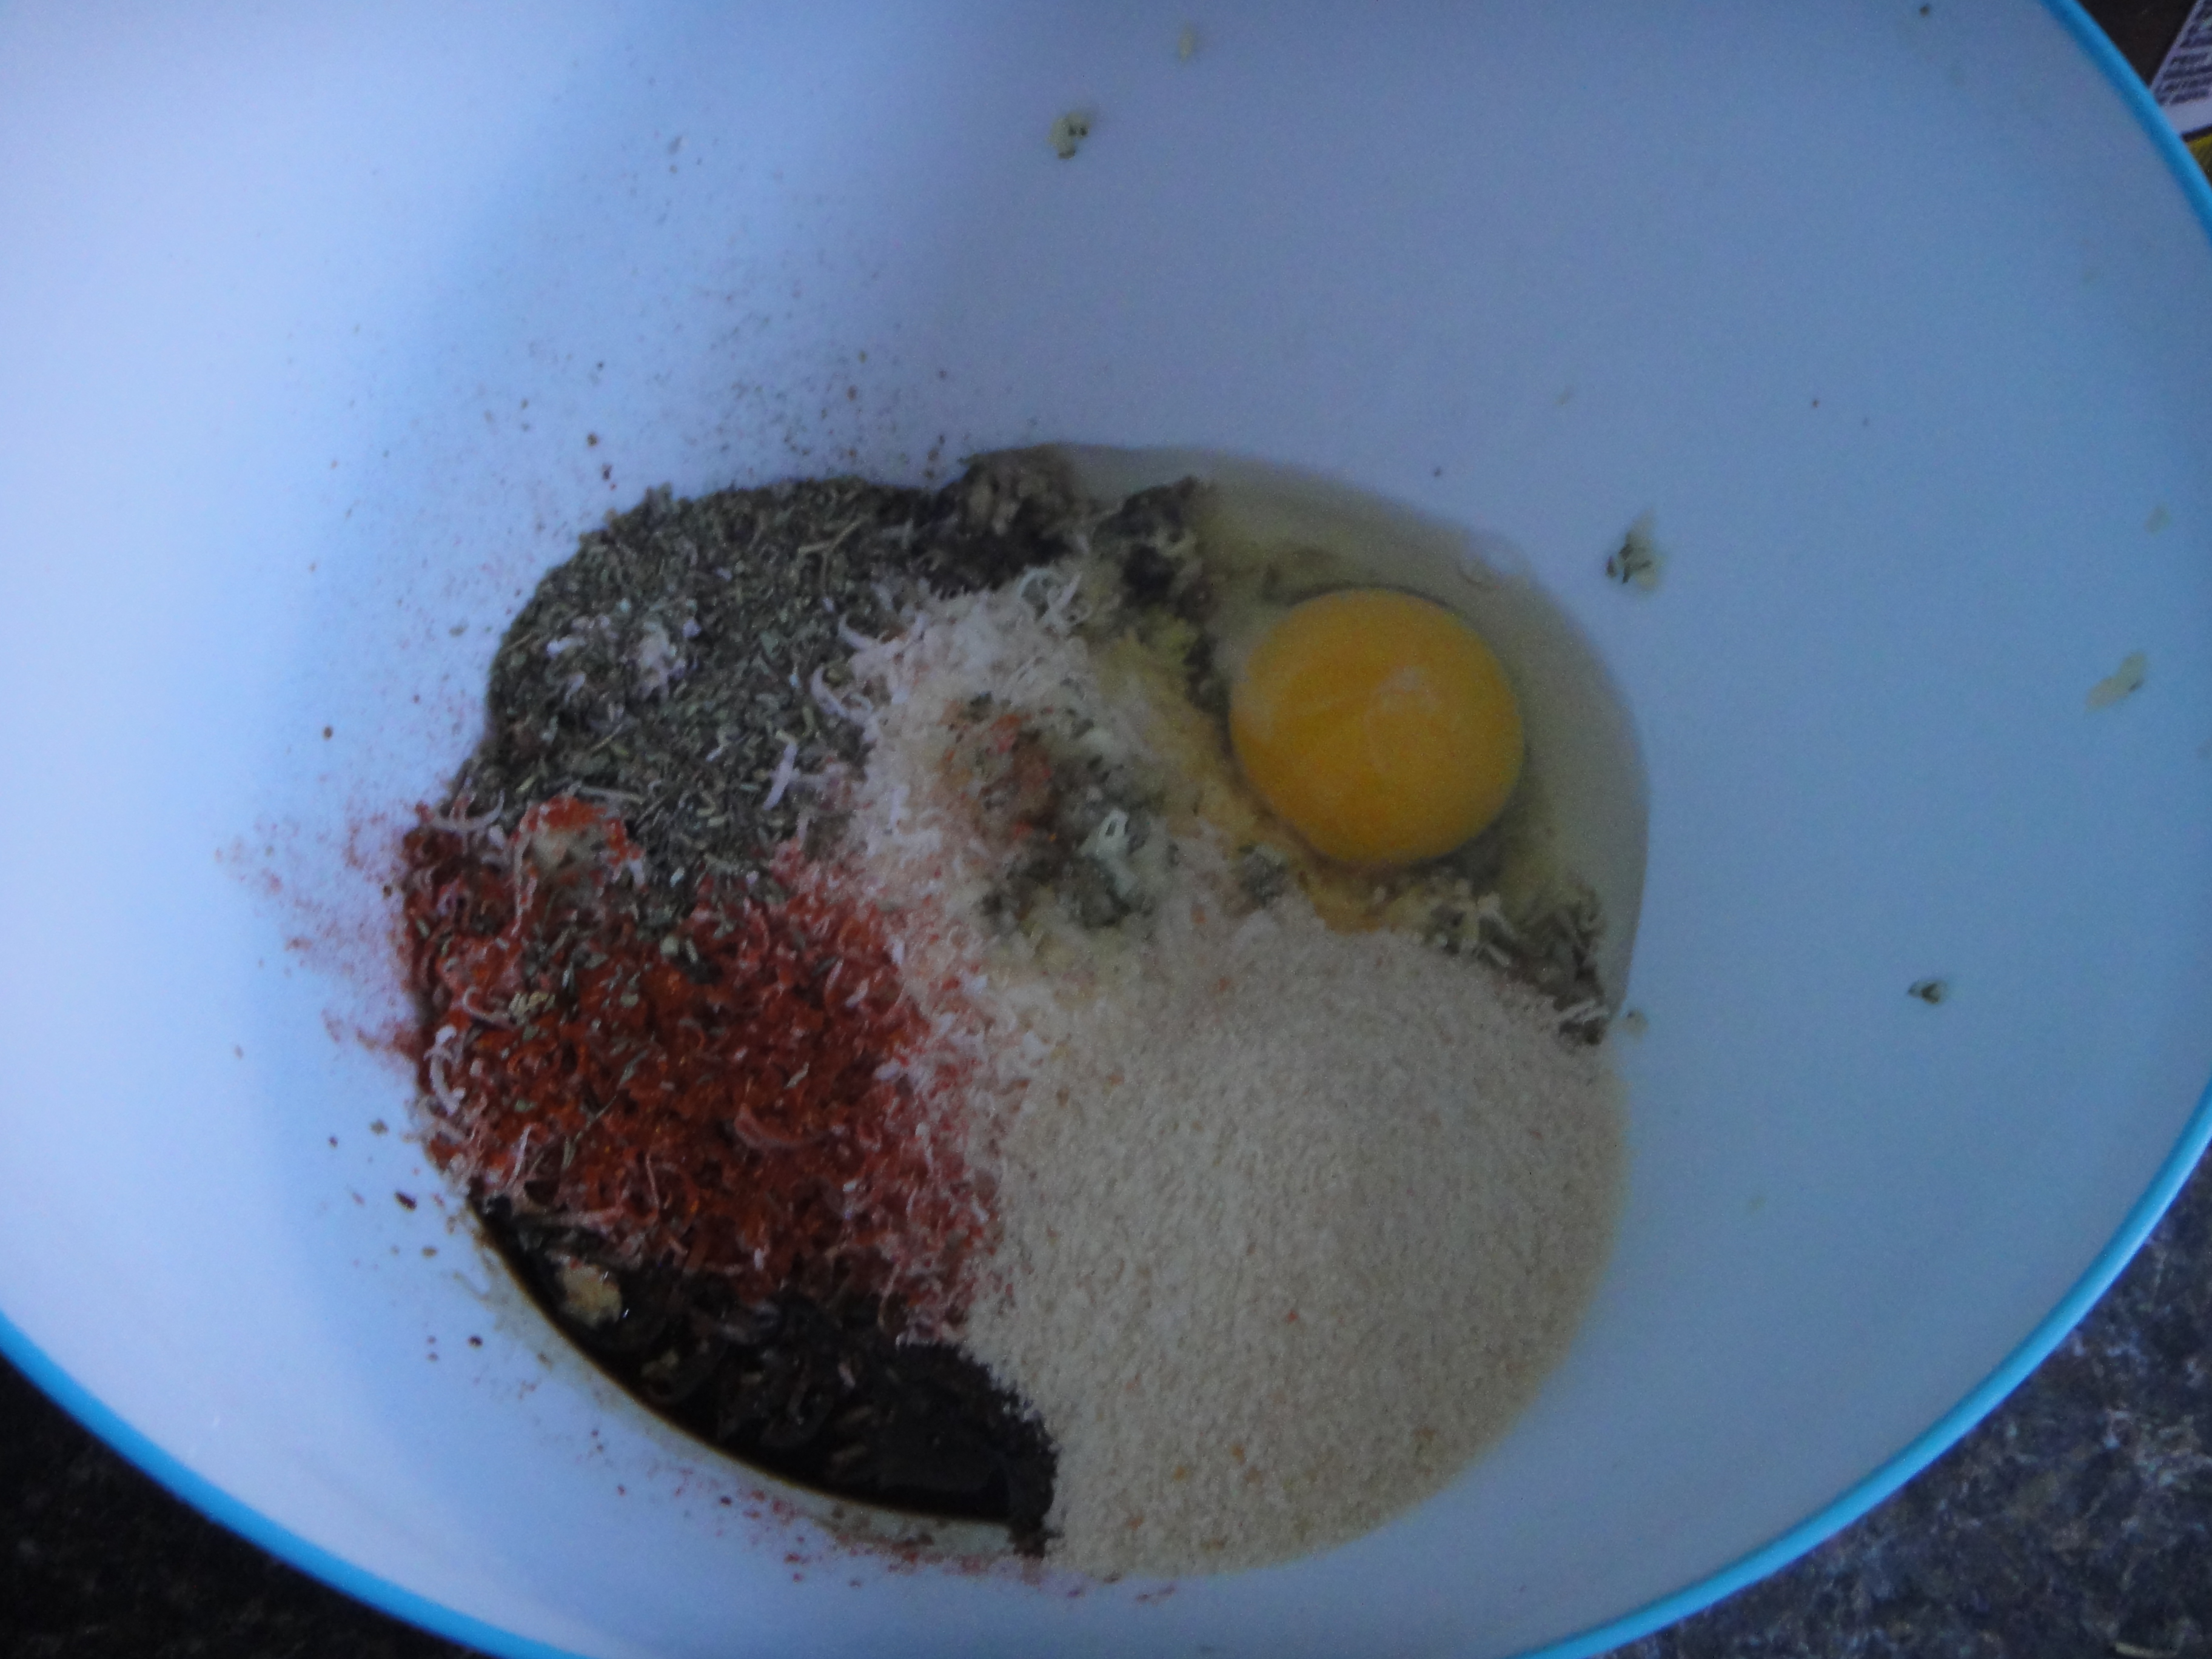
 In goes the meat, and more fresh Parmesan (Because it’s delicious!).
 Squish with your hands until you can easily form balls with the meat.
 Roll meat into little balls.
 Then bake in the oven until crispy, golden brown.
 I made mine the day ahead, so that I could make the pasta to serve for dinner the next day.
 Here’s the easy part. Crack open a jar of pasta sauce and pop the meatballs in and warm over medium heat.
 Toss to make sure the meatballs are covered in sauce.
 Serve over your warm pasta and cover with cheese. Enjoy, a lot!
Classic Spaghetti and Meatballs
You will need:
1 lb lean ground beef
2 tbsp Worcestershire sauce
1 tsp each smoked paprika, Italian seasoning, fresh pressed garlic and rosemary
1 cup breadcrumbs
1 egg
1 cup Parmesan cheese (more to serve)
1 container marinara sauce
As much spaghetti as you’d like.
Combine first 6 ingredients in a bowl, using your hands. If the mixture is to wet, add more breadcrumbs and/or cheese, until you can roll into a firm ball. Preheat oven to 375. Roll all of the meat mixture into small balls (around 1.5 inches). Place on a baking sheet and bake for about 20-30 mins, until cooked throughout. When ready to serve, heat marinara sauce on the stove and drop meatballs into sauce, stirring to coat. Cook pasta and serve sauce and meatballs on top. Sprinkle with more cheese. Enjoy with a glass of wine on a cold winter’s night.
Broccoli Cheddar Soup
Posted: December 15, 2013 Filed under: Uncategorized 1 CommentWe’ve been having pretty awful weather lately. We’ve had snowstorm after snowstorm, combined with unbearably cold temperatures and now, freezing rain. While I do love this city, sometimes, I just find it extremely hard to get through our long, dark, numbing cold winters. One thing that helps: Soup! Rich, creamy, warm soup can turn your grumps cold attitude into a somewhat thawed misdemeanor, at least for a little while, anyway.

Ingredient shot! This soup came together in less than an hour. It was quite tasty, too.
 First things first, melt butter in a pot, dice and add your onions.
 When the onions are cooked down a little, add your flour and make a roux.
 Cook down the roux a little too.
 While the roux is cooking, grate your cheese and chop your veggies.
 Ok, roux is cooked, now add the broth and cream.
 Now, add broccoli and mushrooms!
 Once it’s cooked down to your liking, let it cool a little.
 Blender time. Blend the largest chunks of broccoli in a blender. Or, if you have an immersion blender, use that. I blew mine up making these bad boys.
 Pop it all back into the pot.
 Now add your cheese! (Hmm… Cheese!)
 Make sure it is all melty before turning off the heat.
 Garnish with more cheese, and serve warm with bread. Enjoy on a cold, stormy, wintery afternoon.
Jacquie’s awesome Broccoli Cheddar Soup
You will need:
1 large onion
3 tbsp butter
2 cloves garlic, diced
2 tbsp fresh rosemary
1/4 cup flour
2 cups chicken or veggie broth
1 cup half and half
1 cup milk
2 heads broccoli
8 mushrooms
2 cups shredded old cheddar cheese
Salt and pepper to taste.
Melt butter in a large pot and dice your onion. Cook onion in butter until translucent. Add flour and cook down for about 10 mins. Wash and roughly chop broccoli and mushrooms. Once roux is cooked down, add liquid and bring to a simmer. Add veggies. Cook until broccoli is tender. Transfer to a blender and whir until smooth. Transfer back to pot and add cheese. Stir until all the cheese is melted. Season to taste. Serve warm. Enjoy, a lot!
Thai Peanut Lettuce Wraps
Posted: December 9, 2013 Filed under: Uncategorized Leave a comment
I love lettuce wraps. They take everything that’s great about a stir fry and wrap it in salad. How great is that? Here is a foolproof recipe that tastes great every time I make it. 
It doesn’t take much to make these tasties. 
Here’s a shot for the sauce. I mix a variety of Asian sauces with peanut butter to make the perfect base for this recipe. 
Sorry, this shot was a little blurry. Once the sauce is prepared, brown your chicken in it. 
Then, add the veggies and cook down. 
Once it’s cooked down to your liking, add peanuts.  Serve with romaine lettuce. It tends to keep its shape a little better than other lettuces, making it easier to eat. Romaine also gives the wraps an extra crunch!
Thai Peanut Lettuce Wraps
You will need
2 chicken breasts
1 small zucchini
1 small red onion
1 red bell pepper
5 mushrooms
a handful or two of peanuts, to garnish
a head of romaine lettuce, to serve
For the sauce:
3 tbsp peanut butter
1 tbsp soy sauce
1 tbsp Hoisin sauce
1 tbsp peanut satay sauce (for some heat)
1 tbsp General Tao sauce
Chop all of your veggies and chicken into bite sized pieces. Combine sauces in a saucepan and cook on low until peanut butter is melted. Add your chicken and brown. Add veggies and cook down until cooked, but still firm. Add peanuts. Serve warm on top of romaine leaves.
Tourtiere: The Canadian Food Experience Project Challenge 6.
Posted: December 1, 2013 Filed under: Uncategorized 3 CommentsAh Tourtiere. I honestly couldn’t imagine the holidays without it. Spiced meat wrapped with flaky, buttery pastry and topped with Ketchup (that’s how true Frenchies eat it!). Tourtiere is made as part of a traditional French Canadian Christmas. My whole family makes them every year, and we give them away as Christmas gifts. On Christmas eve, we would go to midnight mass, and then we return to my grandparents for Reveillon, where we would spend the night opening gifts, having tasty drinks, and, of course, digging into Tourtiere. It will always be one of my favourite holiday memories.
As part of the Canadian Food Experience Project, I decided to share my family’s holiday tradition with you. Challenge 6 asks participants to identify their most cherished recipe from their Canadian Christmas Traditions. The project began back in June. As participants share our collective stories through our regional food experiences, we hope to bring global clarity to our Canadian culinary identity.
 My Grandmaman’s Tourtiere recipe has ground pork and veal in it, along with all of the tasty spices you’d find in the recipe.
 The spices are simple: Cloves, allspice and salt and pepper.
 When we make tourtiere, we go all out and make dozens of pies. They make the perfect gift during the holidays.
 We use potato flakes to thicken up the meat before it goes into the pie shells.
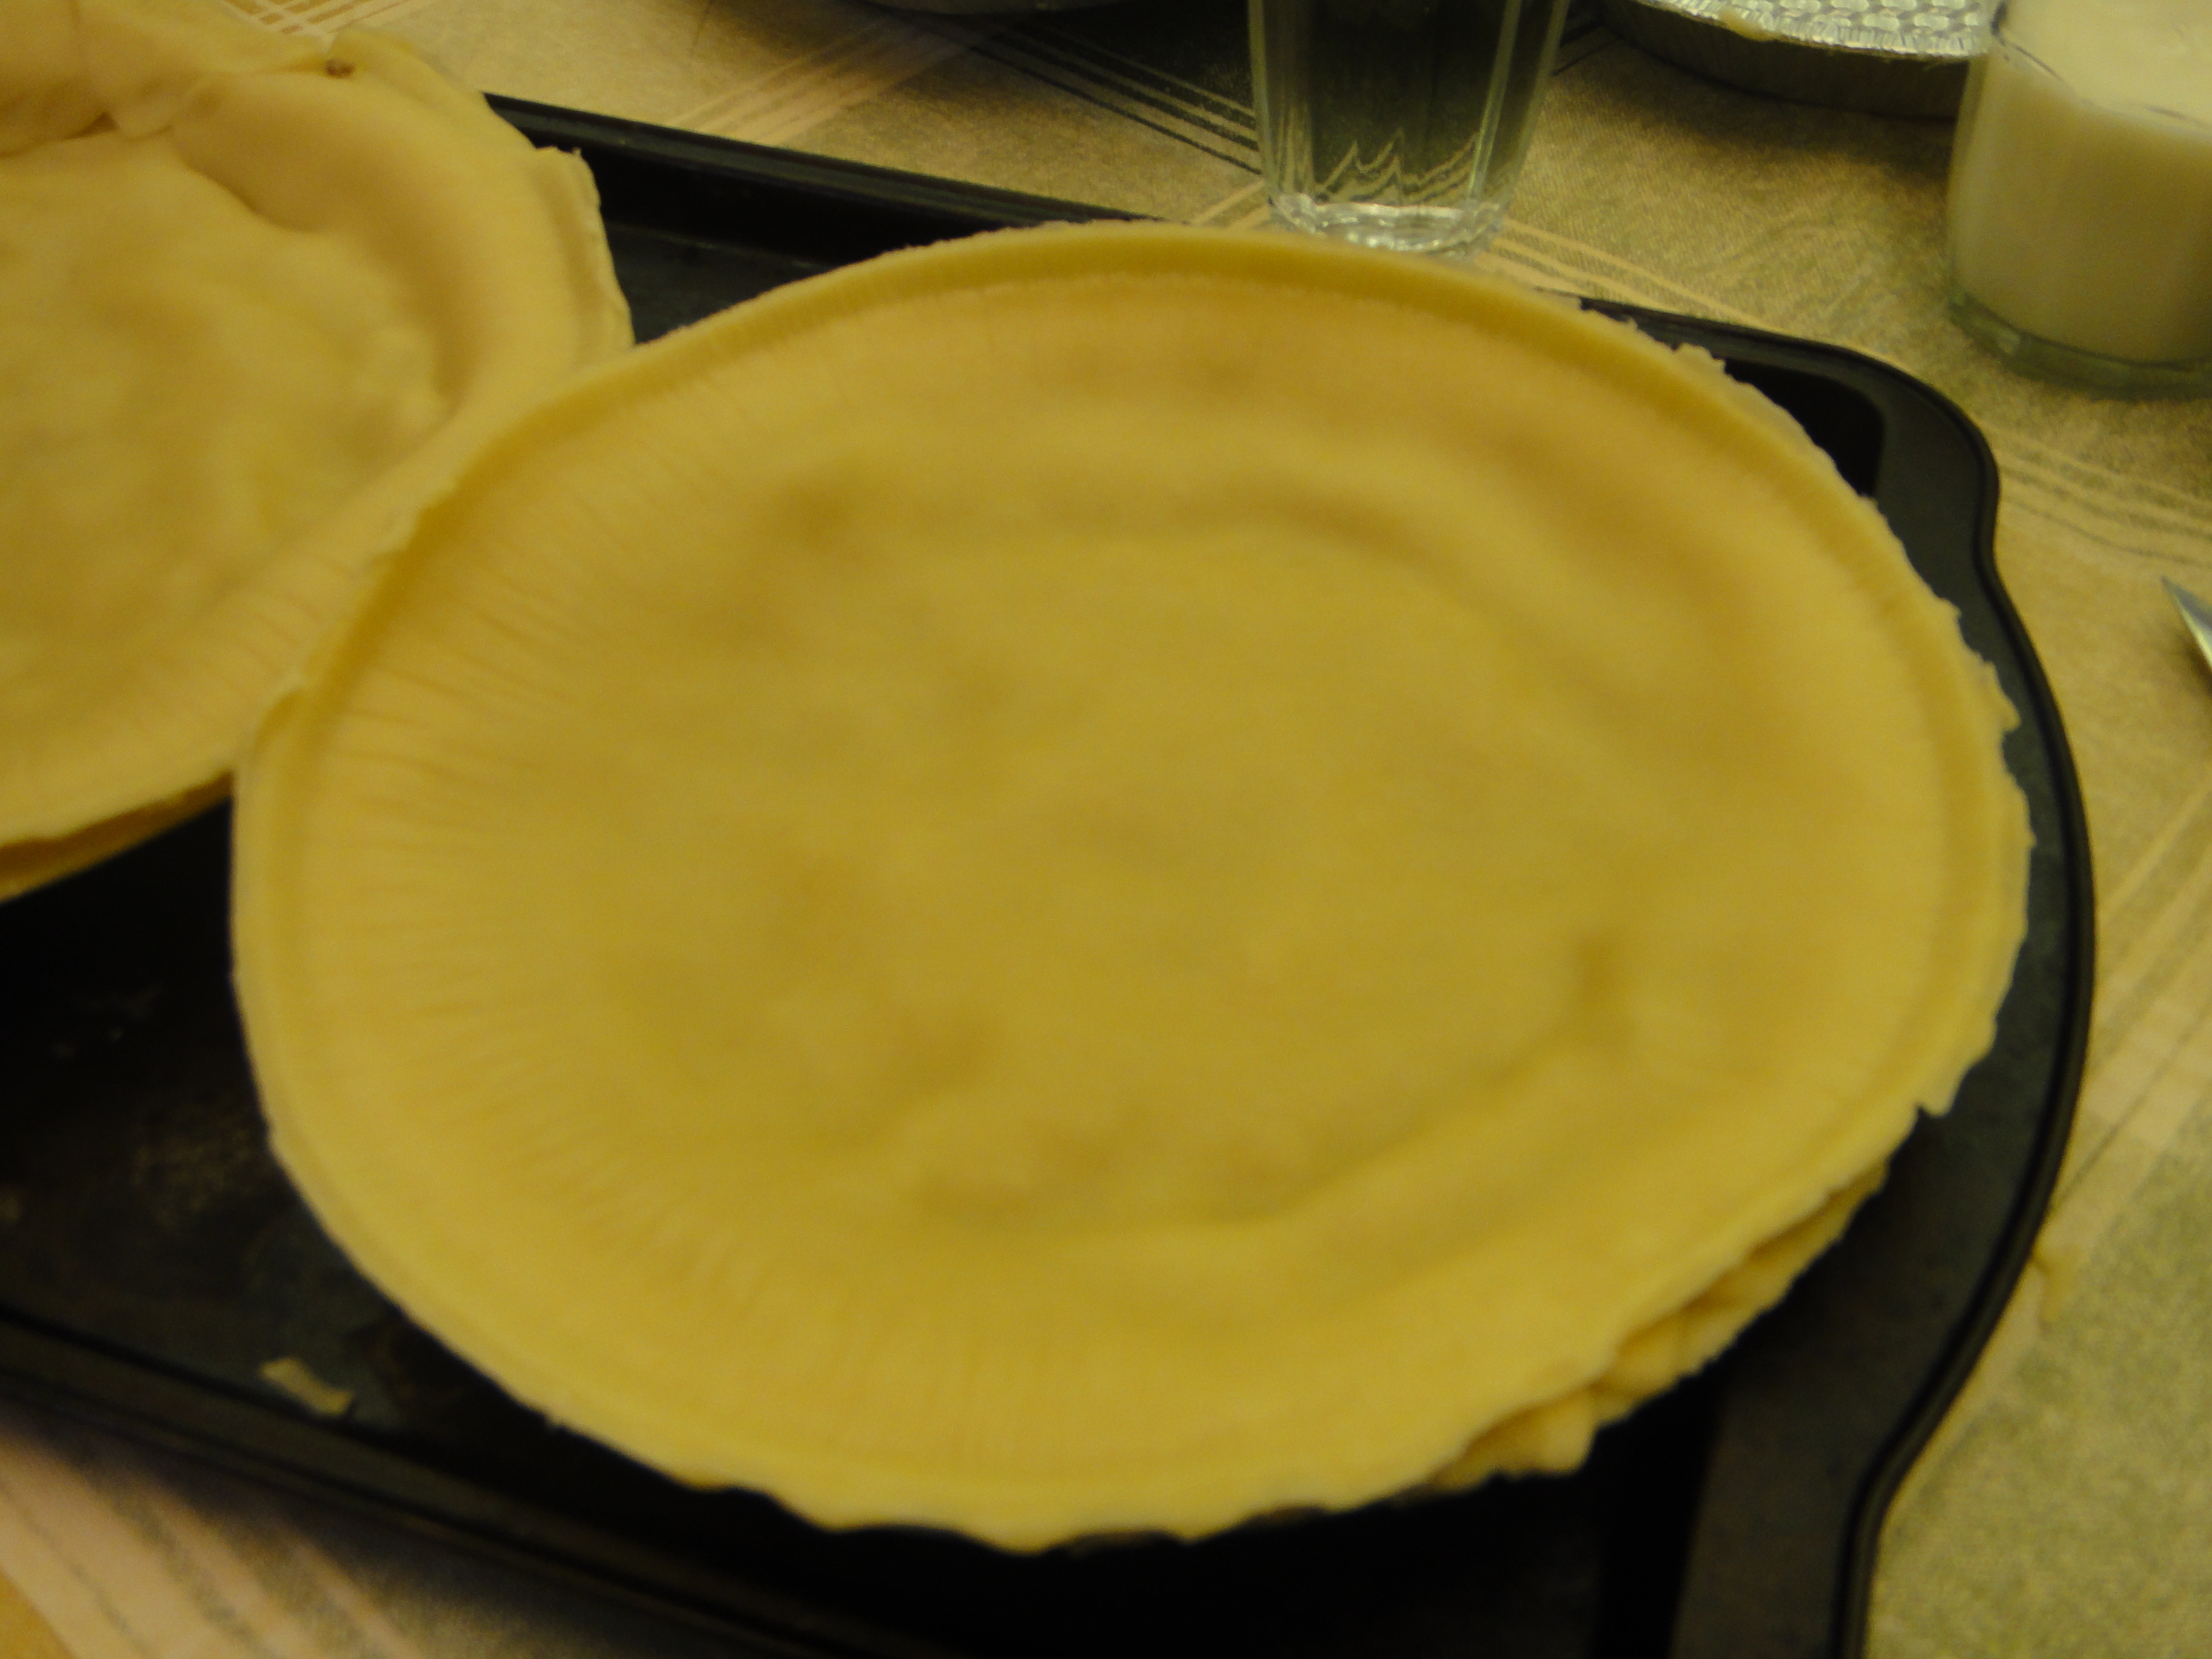
 Next, fill the shells with tasty meat.
 Top the bottom with a top shell and let it sit for a few minutes. The steam from the bottom will help the top shell come out of it’s tin more easily.
 See? Easy-peasy.
 Next, trim the excess pie dough and crimp the edges, then poke with a fork all over, to make vent holes.
 Baste the pie with milk, so that the pastry can become nice and flaky in the oven.
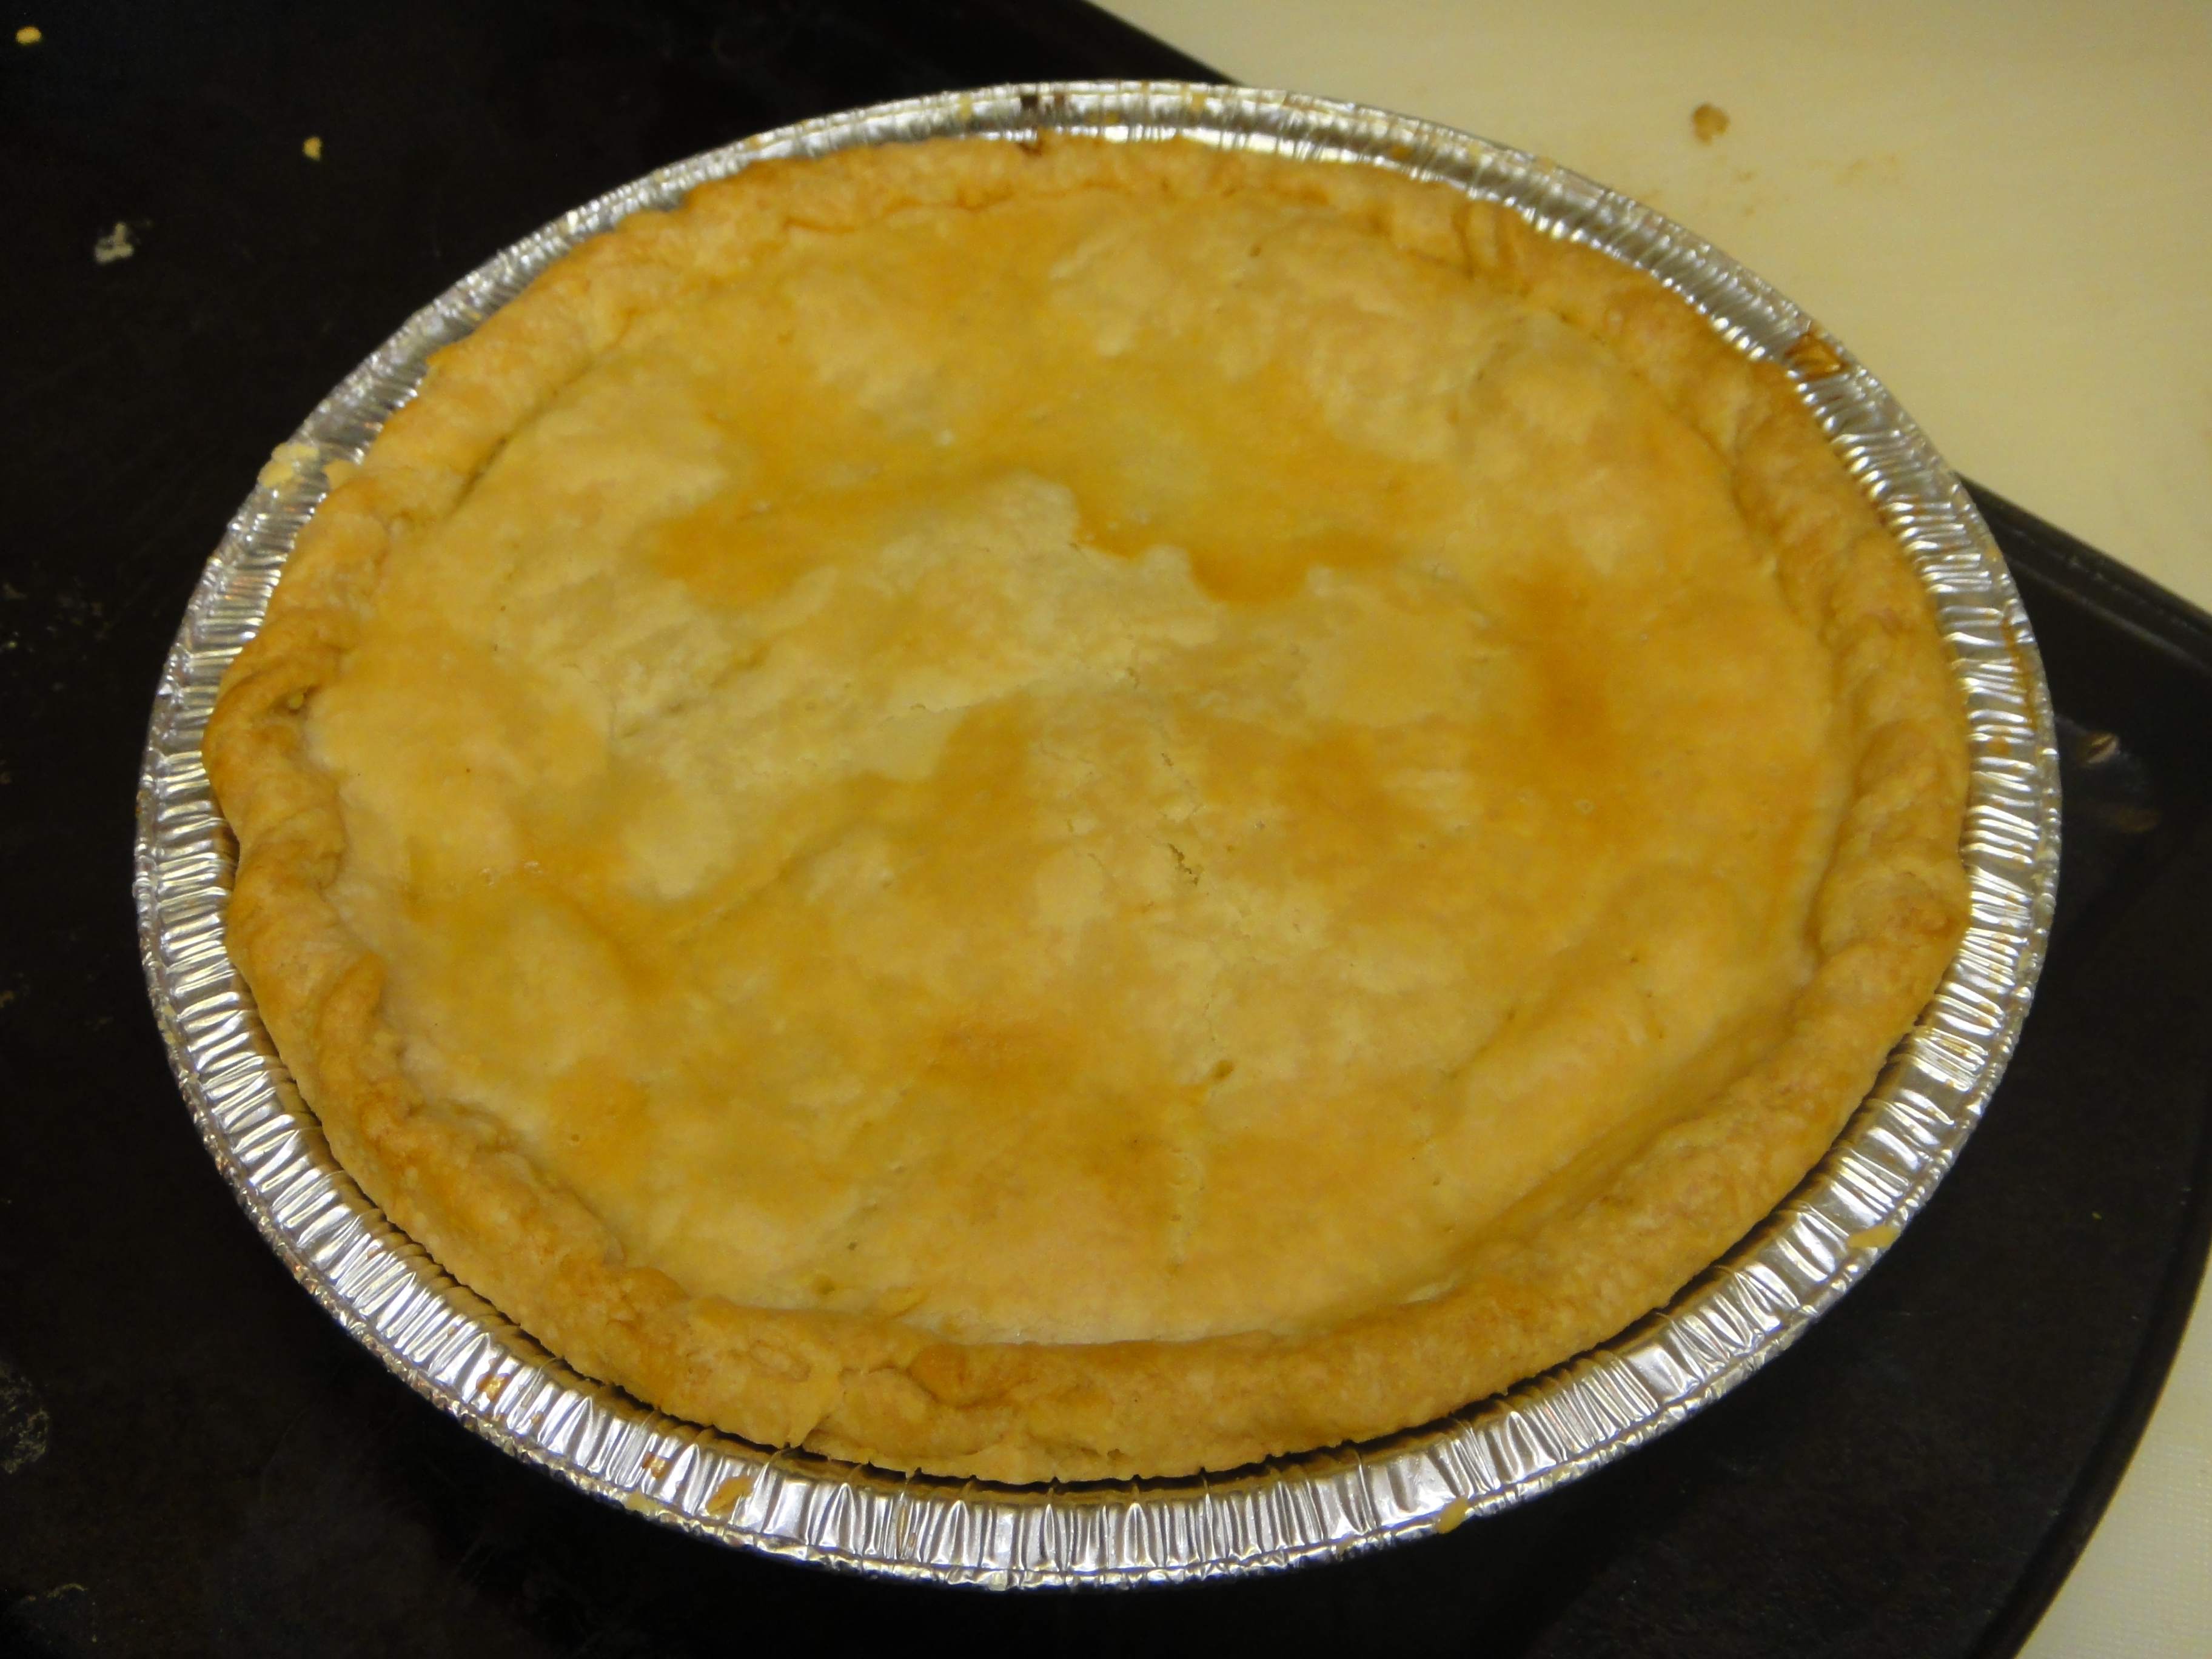 Bake at 350 until golden brown. Serve your slice with a dollop of ketchup on top, and enjoy, a lot!
Grand Maman Bernier’s Tourtiere
You will need:
1 1/2 lbs ground, lean pork
1/2 lb ground veal
1 large onion, diced
1 tbs fat
1/4 cup hot water
1 tsp salt and pepper
1/2 tsp allspice and ground clove
1/2 cup instant mashed potatoes
1/2 cup milk
In a heavy saucepan, melt fat and saute onion. Add meat and brown over med-high heat, stirring constantly to break up lumps. Add hot water and spices. Cover and simmer for 1 hr and a half. Let cool, then add instant mash potatoes before filling pie shells. Fill pie shell bottoms and top with another pie shell. Crimp the shells closed, and poke vent holes all over. Baste pie shell with milk, then bake at 350 for about 25 mins, until golden brown. Serve with ketchup. Enjoy!
Loaded Baked Potato Rounds
Posted: December 1, 2013 Filed under: Uncategorized Leave a commentI have another dinner club recipe for you all today. I made this one from Deb Perelman’s Smitten Kitchen Cookbook. She’s got fantastic ideas for all types of occasions, including dinner parties! This one was super simple, but loaded with flavour!
First things first, crisp up some bacon in a pan. 
Let it drain on a paper towel before crumbing it with your fingers. 
Next, cut a large russet potato (skin on) into 1/4 in pieces. 
Butter the pan, then butter the top of the potato pieces.Then bake at 400 for about 30 mins, until crispy, flipping once.

Once the potato rounds are hot and crispy, sprinkle grated cheese on top and pop back in the oven for 2 more mins, until the cheese is all melted.  Transfer to a serving tray and top with a dollop of sour cream, and sprinkle bacon bits on top. Serve warm. Enjoy!
Loaded Baked Potato Rounds
You will need:
Two large russet potatoes
3-4 slices of bacon
2 tbsp butter
1 cup shredded cheddar cheese
1 cup sour cream
Begin by cooking up your bacon in a pan, until crispy. Drain on a paper towel and crumble using your fingers. Preheat oven to 400. Wash potatoes then cut into 1/4 inch, round bite sized pieces. Butter a baking dish, then melt the remaining butter and paint it on top of the rounds. Pop them into the oven and bake for about 30 – 40 mins, until crispy, turning once. When ready, grate cheese on top and return to oven for 2 mins, until cheese is melted. Remove from oven and transfer to a serving dish. Add a dollop of sour cream to each round and top with bacon. Serve warm at your next dinner party!
